
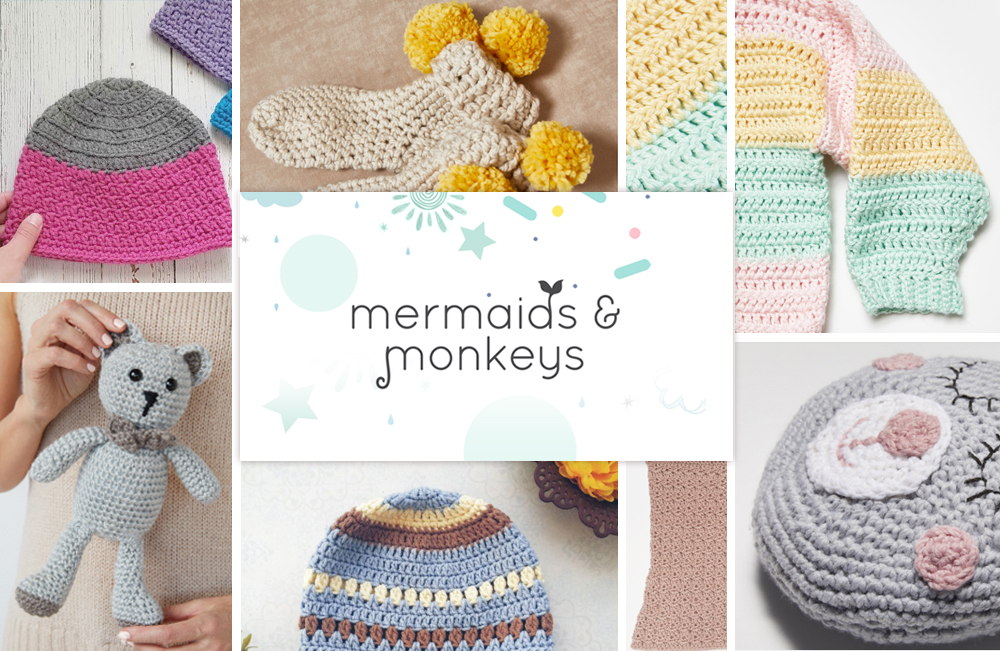
Here comes your little one’s newest best friend, and it’s made more special if it’s crocheted by you. The pillow as the base, and its cute added details, it’s really just the perfect nighttime buddy. Plus, you can learn a thing or two along the way like embroidery and sewing on its features. The free pattern’s below for you to use or you can get the ad-free printable PDF pattern here.
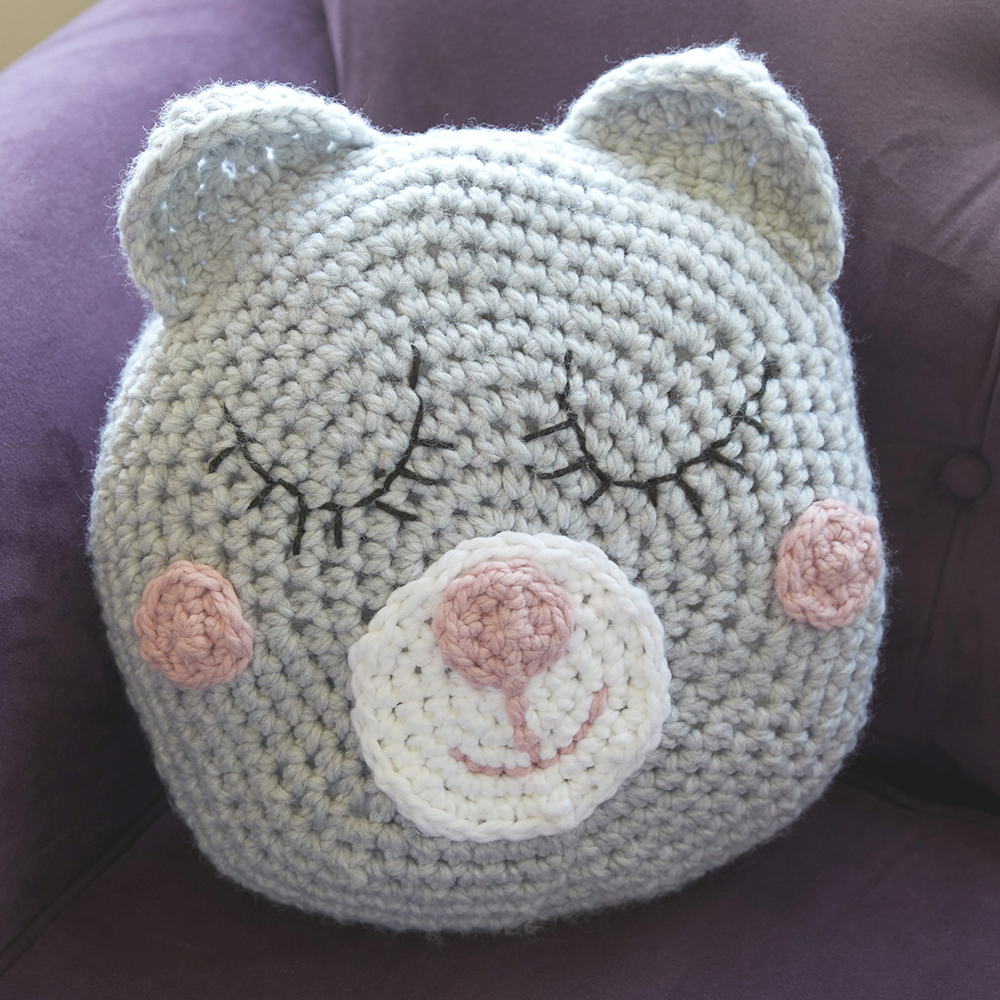
When you’re little you can never have too many sweet, snuggly friends. Especially when it comes to bedtime. If your child has trouble falling asleep, the Sleepy Bear Crochet Pillow is the perfect companion.
This cozy crochet pillow is the perfect crossover between a pillow and a stuffed animal. The base of the Sleepy Bear Pillow is made from a round cushion case, crocheted in grey but you can easily coordinate your pillow to match your child’s bedroom.
Then, with two little ears added on top, a cream-colored snout, and some sweet embroidery on the face, your sleepy bear friend can really come to life. Learn how to crochet your own teddy bear pillow for the little one in your life in my Amigurumi masterclass. You can learn free for 2 days here.
And to make this pillow extra snuggly, we’ve made ours using the Plymouth Encore Mega Yarn. It’s a chunky machine-washable acrylic/wool blend perfect for patterns that need some extra squish.
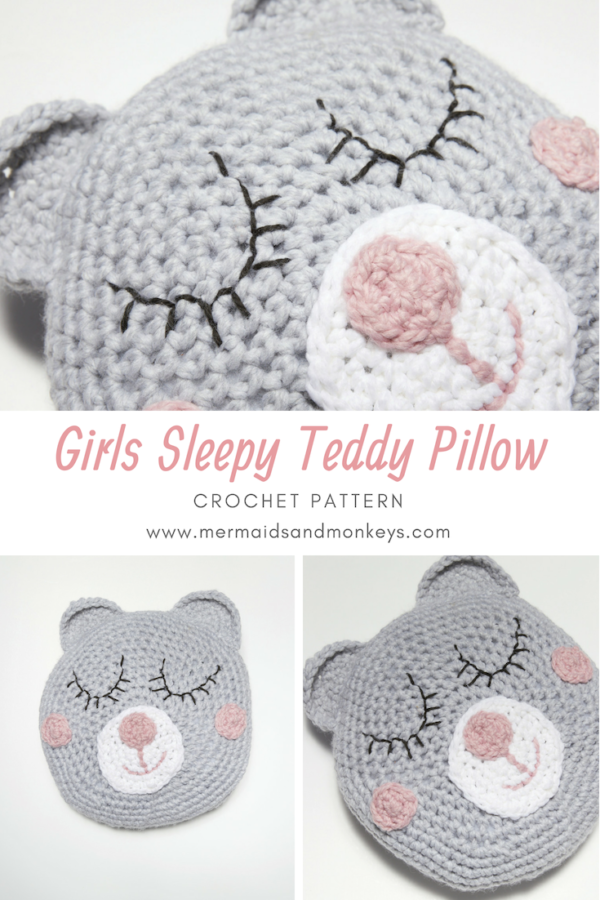
Girls Sleepy Teddy Pillow Crochet Pattern
Skill Level: Beginner
Materials:
Hook: N/P 10mm
Yarn:
Plymouth Encore Mega super bulky weight yarn
5 balls Light Grey (6007)
1 ball each Bright White (0208)
Light Pink (0639),
Black (0217)
Tools:
Tapestry needle
Polyfill stuffing
Finished Size:
16” wide
Gauge:
2 1/2 inches across after Rnd 2.

| ABBREVIATIONS | DESCRIPTION |
|---|---|
| st | Stitch |
| ch | Chain |
| sl st | Slip stitch |
| sc | Single crochet |
| rnd | Round |
| rs | Right side of work |
| ws | Wrong side of work |
Pattern Notes:
Ch 1 counts as first st of round in this pattern. Join rounds with a slip stitch in the first st.
Special Stitches:
Magic circle: wrap the yarn around 2 fingers, and slide the hook between your fingers and under the loop. Pull up a loop and ch as many as the pattern calls for. Once the number of st the pattern calls for are made, pull the tail to close the circle.

Get the ad-free printable PDF pattern here
PATTERN:
Body (light grey, make two)
Foundation Rnd: Make a magic circle, ch 1 (counts as first st here and throughout), 9 sc into magic circle, sl st to join. 10 sc
Rnd 1: Ch 1, sc into the same st, sc into the next st. *2 sc into the next st, sc in the next st; repeat from * to end. Sl st into beginning sc to join. 15 sc
Rnd 2: Ch 1, sc into the same st, sc into each of the next 2 sts. *2 sc into the next st, sc into each of the next 2 sts; repeat from * to end. Sl st into beginning sc to join. 20 sc
Rnd 3: Ch 1, sc into the same st, sc into each of the next 3 sts. *2 sc into the next st, sc into each of the next 3 sts; repeat from * to end. Sl st into beginning sc to join. 25 sc
Rnd 4: Ch 1, sc into the same st, sc into each of the next 4 sts. *2 sc into the next st, sc into each of the next 4 sts; repeat from * to end. Sl st into beginning sc to join. 30 sc
Rnd 5: Ch 1, sc into the same st, sc into each of the next 5 sts. *2 sc into the next st, sc into each of the next 5 sts; repeat from * to end. Sl st into beginning sc to join. 35 sc
Rnd 6: Ch 1, sc into the same st, sc into each ofthe next 6 sts. *2 sc into the next st, sc into each of the next 6 sts; repeat from * to end. Sl st into beginning sc to join. 40 sc
Rnd 7: Ch 1, sc into the same st, sc into each of the next 7 sts. *2 sc into the nex st, sc into each of the next 7 sts; repeat from * to end. Sl st into beginning sc to join. 45 sc
Rnd 8: Ch 1, sc into the same st, sc into each of the next 8 sts. *2 sc into the next st, sc into each of the next 8 sts; repeat from * to end. Sl st into beginning sc to join. 50 sc
Rnd 9: Ch 1, sc into the same st, sc into each of the next 9 sts. *2 sc into the next st, sc into each of the next 9 sts; repeat from * to end. Sl st into beginning sc to join. 55 sc
Rnd 10: Ch 1, sc into the same st, sc into each of the next 10 sts. *2 sc into the next st, sc into each of the next 10 sts; repeat from * to end. Sl st into beginning sc to join. 60 sc
Rnd 11: Ch 1, sc into the same st, sc into each of the next 11 sts. *2 sc into the next st, sc into each of the next 11 sts; repeat from * to end. Sl st into beginning sc to join. 65 sc
Rnd 12: Ch 1, sc into the same st, sc into each of the next 12 sts. *2 sc into the next st, sc into each of the next 12 sts; repeat from * to end. Sl st into beginning sc to join. 70 sc
Rnd 13: Ch 1, sc into the same st, sc into each of the next 13 sts. *2 sc into the next st, sc into each of the next 13 sts; repeat from * to end. Sl st into beginning sc to join. 75 sc
Rnd 14: Ch 1, sc into the same st, sc into each of the next 14 sts. *2 sc into the next st, sc into each of the next 14 sts; repeat from * to end. Sl st into beginning sc to join. 80 sc
Rnd 15: Ch 1, sc into each st around. Sl st into beginning sc to join.
Fasten off.
Get the ad-free printable PDF pattern here
MOUTH (with white, make one)
Foundation Rnd: Make a magic circle, ch 1 (counts as first st here and throughout), 7 sc into magic circle, sl st to join. 8 sc
Rnd 1: Ch 1, sc into the same st, sc into the next st. *2 sc into the next st, sc in the next st; repeat from * to end. Sl st into beginning sc to join. 12 sc
Rnd 2: Ch 1, sc into the same st, sc into each of the next 2 sts. *2 sc into the next st, sc into each of the next 2 sts; repeat from * to end. Sl st into beginning sc to join. 16 sc
NOSE & CHEEKS (with light pink, make 3)
Foundation Rnd: Make a magic circle, ch 1 (counts as first st here and throughout), 5 sc into magic circle, sl st to join. 6 sc
Rnd 1: Ch 1, sc into the same st, sc into the next st. *2 sc into the next st, sc in the next st; repeat from * to end. Sl st into beginning sc to join. 9 sc
Rnd 2: Ch 1, sc into the same st, sc into each of the next 2 sts. *2 sc into the next st, sc into each of the next 2 sts; repeat from * to end. Sl st into beginning sc to join. 12 sc
Fasten off, leaving a 6” tail.
EARS (with light grey, make 2)
Foundation Row: Make a magic circle, ch1 (does not count as a stitch when making ear), 5 sc into magic circle, do not join, ears will be worked flat. 5 sc
Row 1: Ch 1, 2 sc into same st. Sc into the next st, 3 sc into the next st. Sc into the next st, 2 sc into the last st of row, turn. 9 sc
Row 2: Ch 1, 2 sc into the same st. Sc into the next st, 2 sc into the next st. Sc into the next st, 3 sc into the next st. [Sc into the next st, 2 sc into the next st] twice, turn. 15 sc
Row 3 & 4: Ch 1, sc into each st around.
Fasten off leaving a 8” tail.
Get the ad-free printable PDF pattern here
Assembly and finishing:
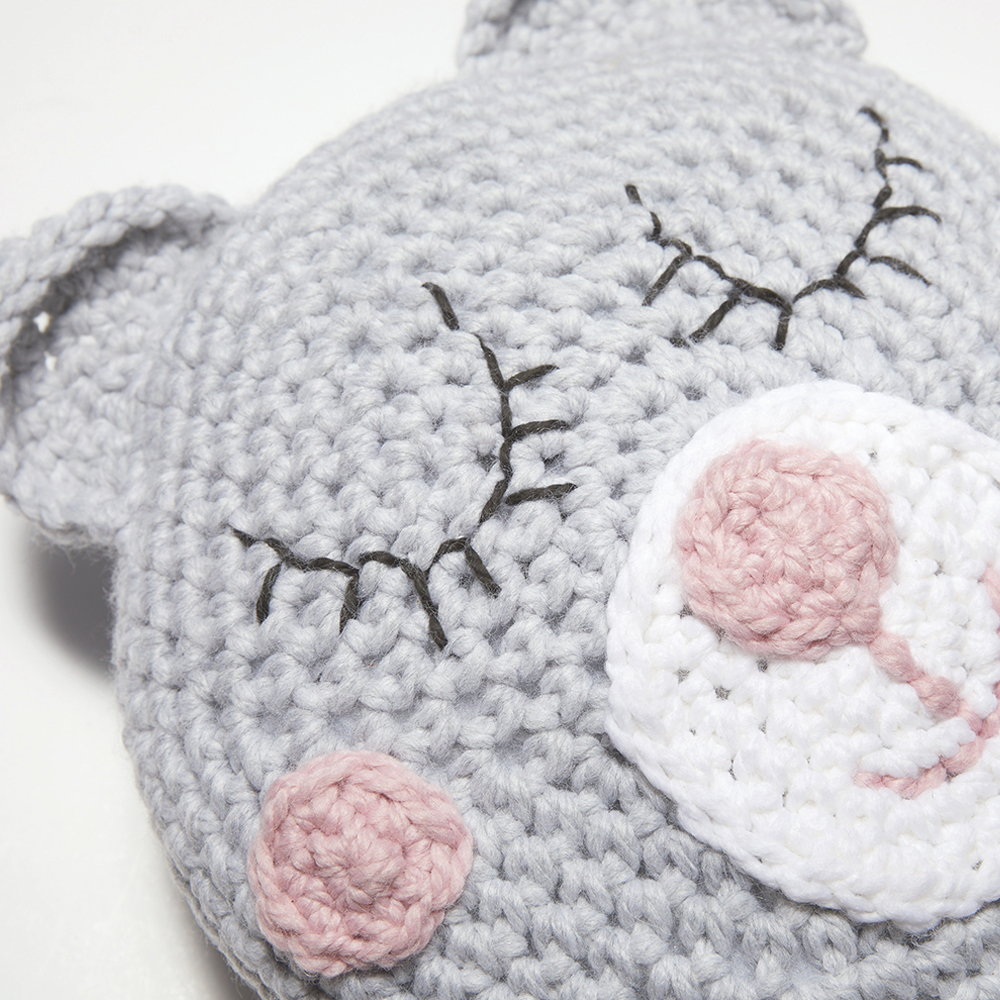
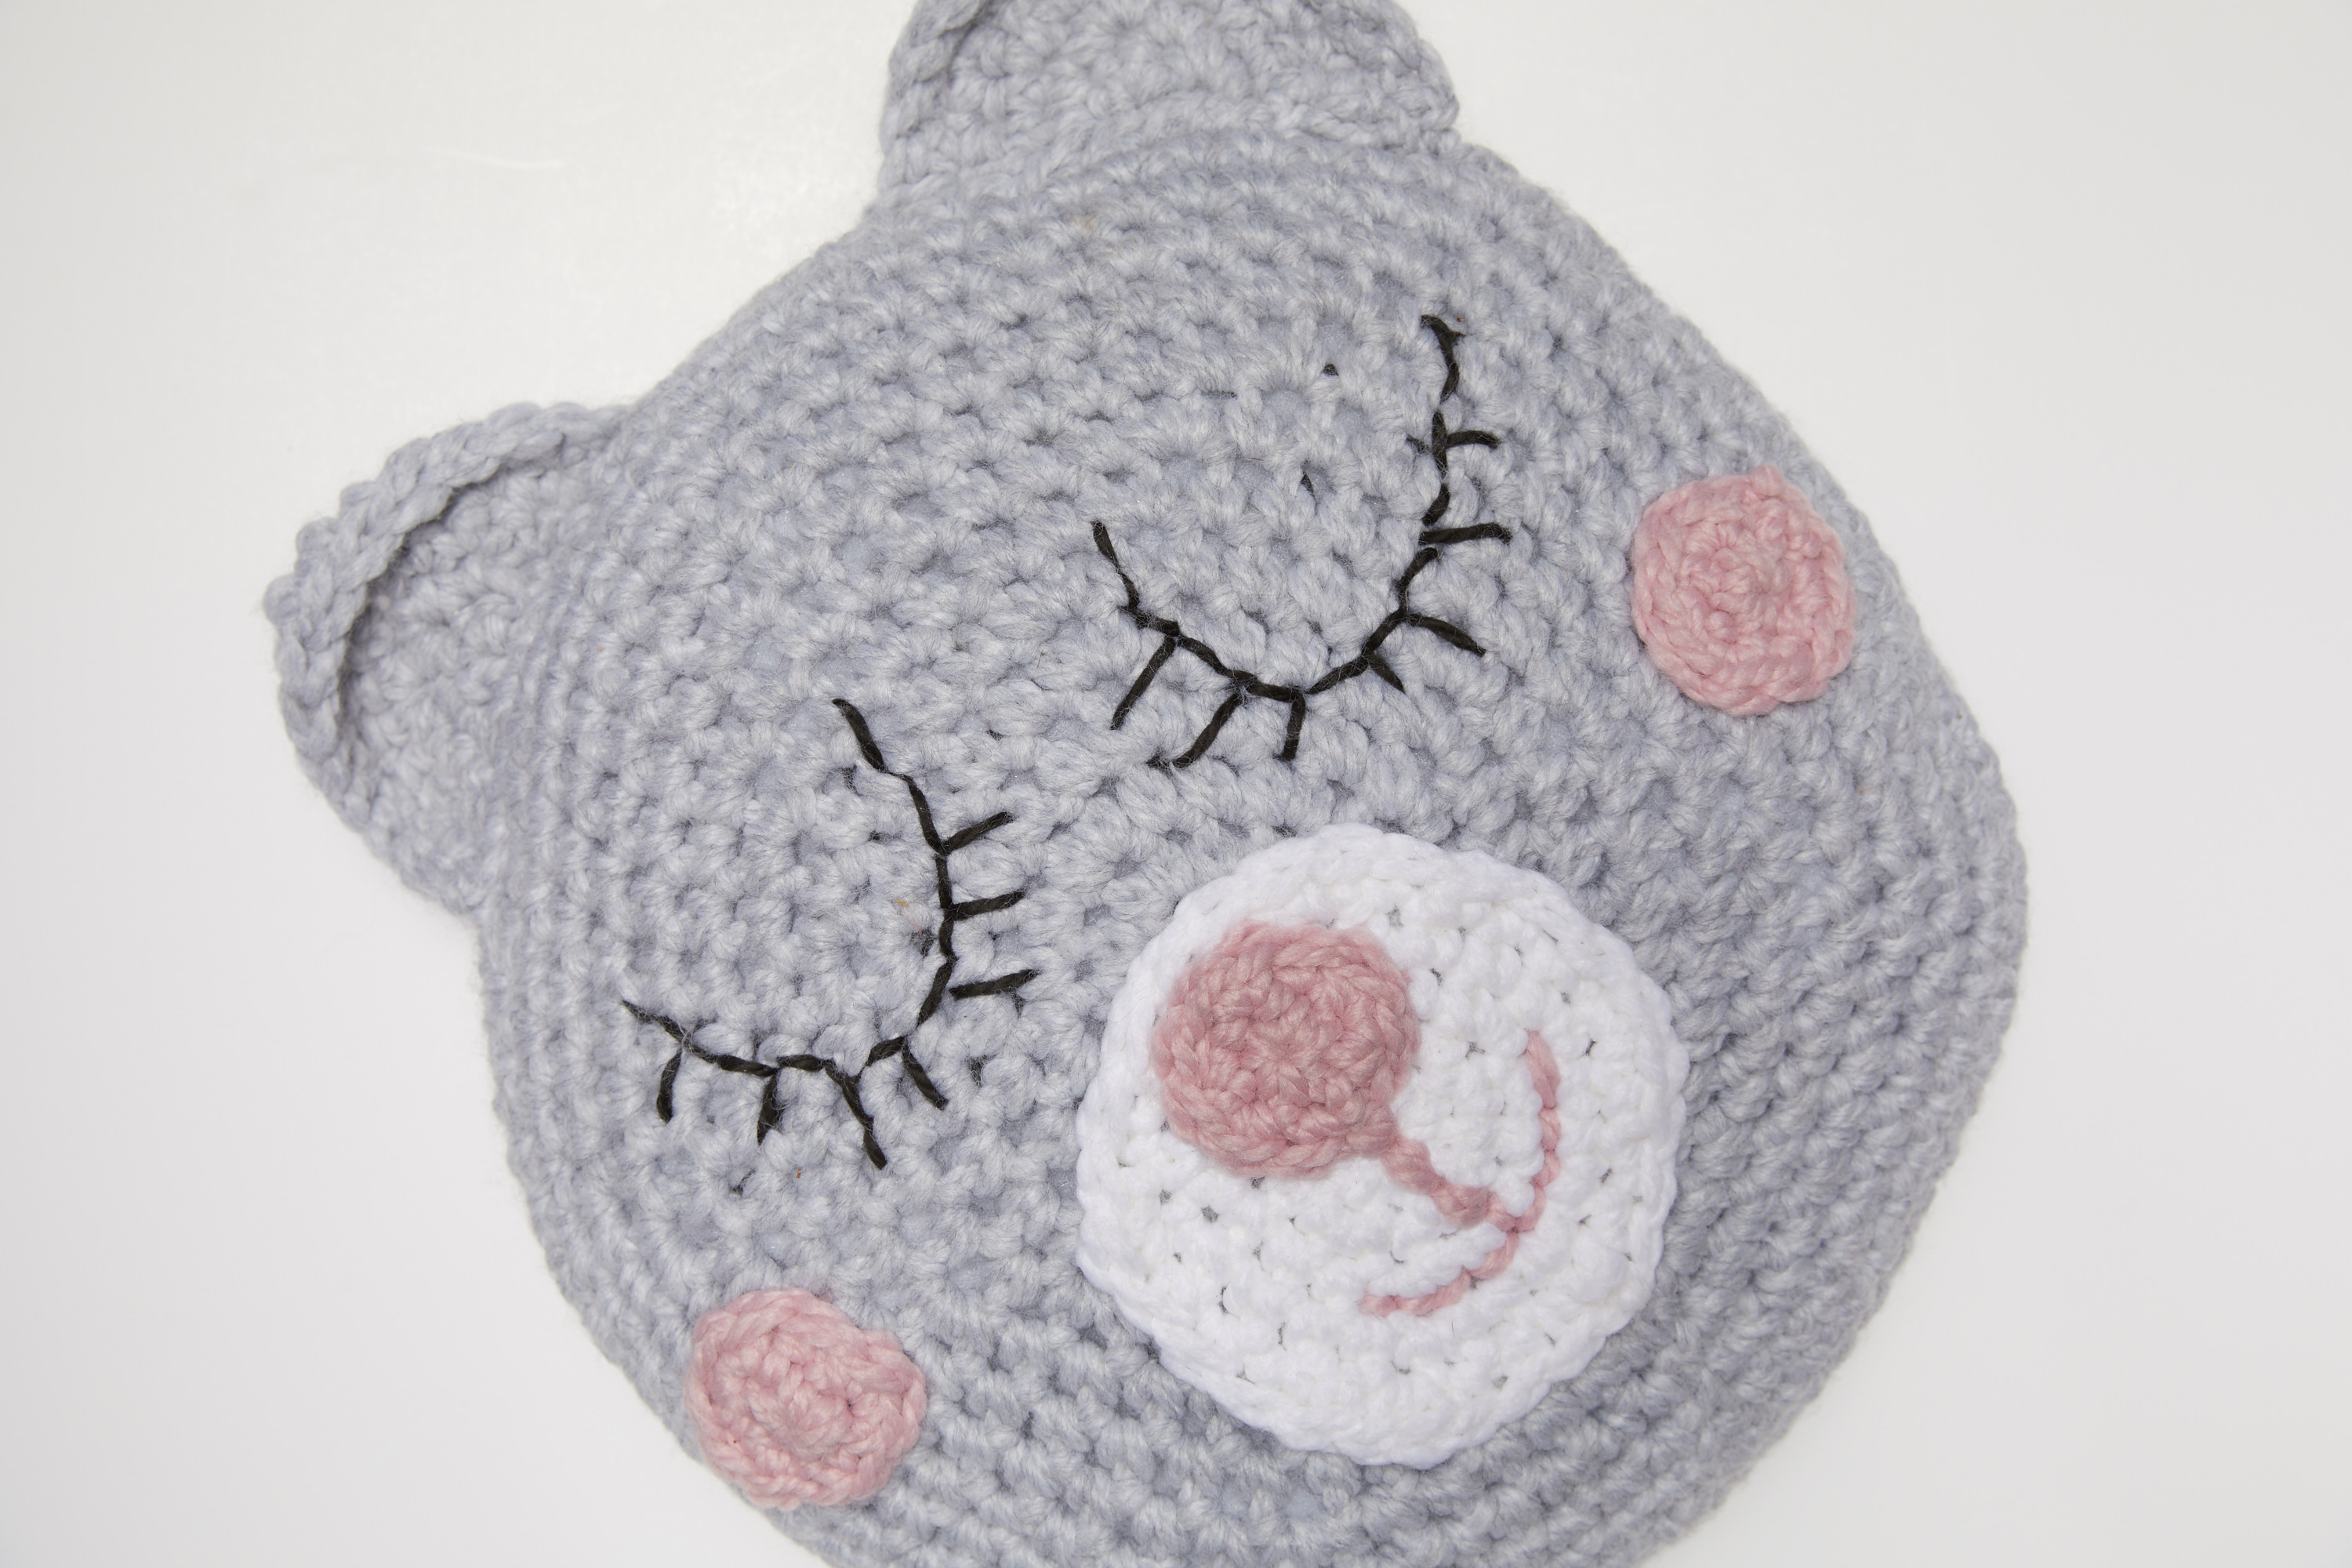
Lay one of the body pieces with the right side facing, lay the mouthpiece just under the center round of the body, and pin in place. Use the tail to whip st on, weaving in all ends on the wrong side. Place one of the nose pieces in the center of the mouth, and using an 18” piece of light pink yarn, whip st in place and embroider mouth line by going 4 rnds down, and following the curve of the round for 4 st in both direction.
Place the cheek piece in a straight line with the nose, about 5 inches from either side and whip st in place.
Mark with st markers where the beginning and end of eyes will be, along with the lowest point in the center. Using the black yarn, embroider eyelids and 7 eyelashes, as shown in photo.
Place both body pieces together with rs facing, and whip st edges closed, leaving a 3” gap off center of the top. Turn rs out, and fill with polyfill stuffing. Finish whip st to close, and weave in ends.
Center ears with about 3” of space between, and whip st in place. Weave in all ends.
The Sleepy Bear Pillow is an amazing gift for the little ones in your life who need something extra soft and cuddly to keep them warm at night.
It’s the perfect size for a tired head to rest on or for little arms to squeeze when the lights turn off. Make something worth smiling about today.
Get the ad-free printable PDF pattern here
Before we finish, if you’ve always been interested in tunisian crochet, I can’t recommend the Learn to Tunisian Crochet class enough. With professionally filmed bite-sized video lessons, we’ll walk you through the fundamentals of Tunisian crochet and practice your skills with a multi-stitch hat, market bag and shawl pattern to help you master this technique with confidence.


Your links don’t work to ravelry Pinterest other pattern links. .. Very frustrating!
I. Think its so cute! I showed it to my grandson. He said he wants the head to be green, his favorite color. The muzzle to be blue. A light blue maybe. And the cheeks red.
Hi. Should I turn the ear piece after you complete the magic circle?