
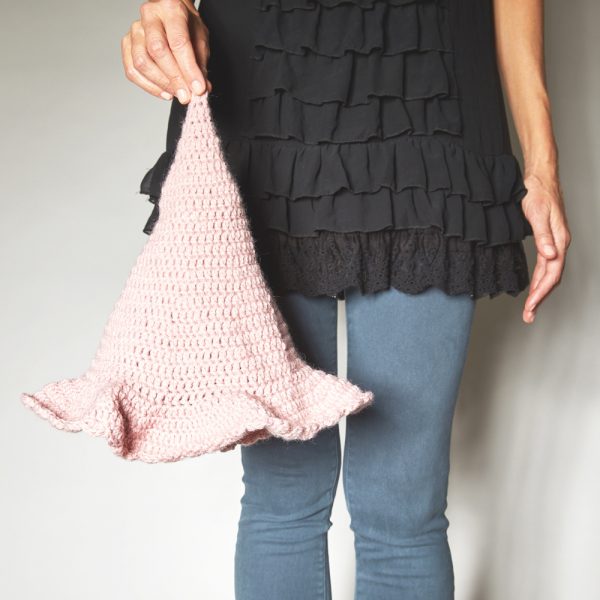
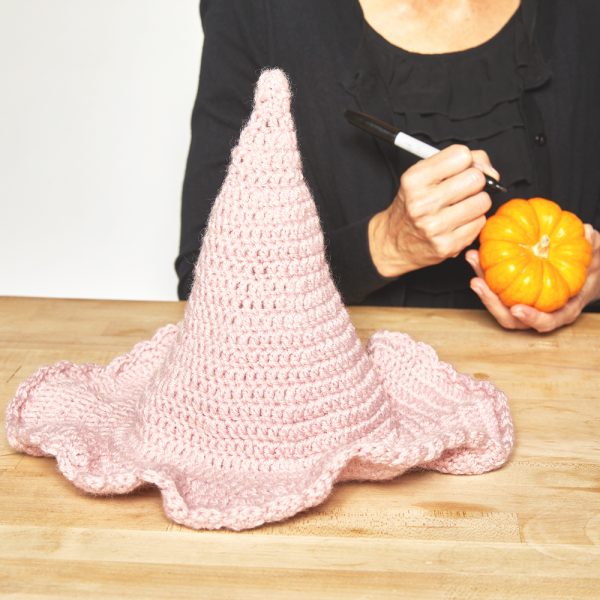
Who knew you could stay cute during Halloween? This pattern is great for a momma and me set, that you could partner up with your little ones. You can try different color combos for the hat and the edges to match your costume for the day. Trust me, your kid will love the outcome. Prepare for the spooky season with the pattern below or get the ad-free printable PDF pattern here.
Halloween is right around the corner and if you’re looking for a fun holiday crochet project or a one-of-a-kind costume, check out this pretty crocheted witch hat.
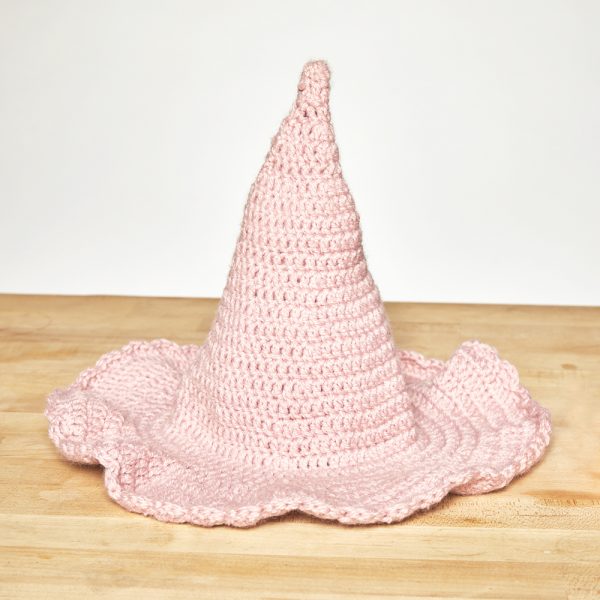
This hat is made in a beautiful dusty rose color and has a delicate scalloped trim around the edges. Make a matching set for you and your little one this Halloween! It’s a really easy crochet hat pattern to follow because it’s worked all over single crochet stitches. So you can have these done in no time.
The crochet hat pattern calls for an acrylic wool blend. The Plymouth Encore Worsted yarn is a 3-ply yarn that is soft and warm, and affordable too. It’s perfect for a children’s costume on a chilly October night.
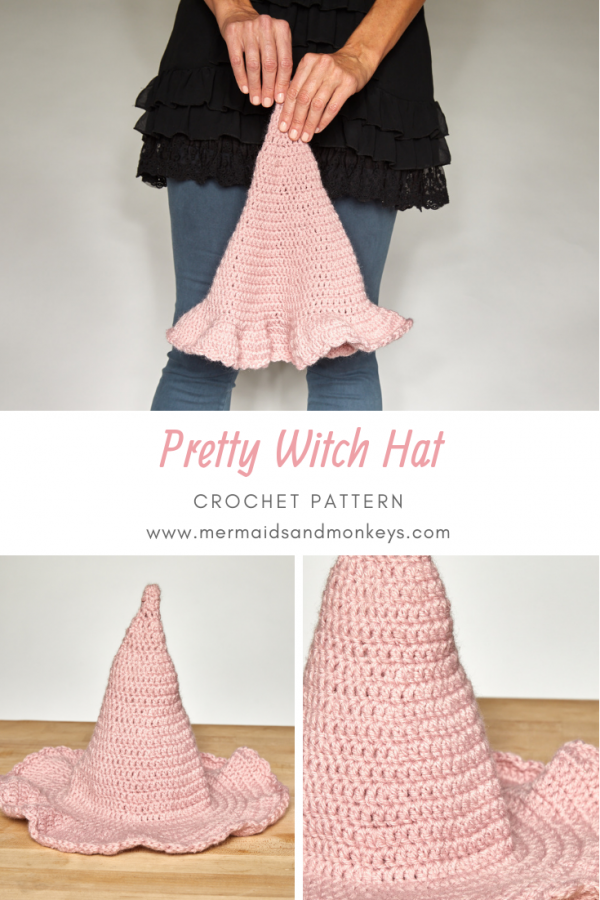
Pretty Witch Hat Crochet Pattern
Skill Level: Easy
Materials:
• Hook
– US size H/8 (5 mm) crochet hook or size needed to obtain gauge
• Yarn: 200 yds worsted weight yarn
• Notions:
– Sharp Scissors
– Tapestry Needle
– Jewelry wire (optional)
Finished Size:
Height: 12.5 inches
Circumference before brim: 18 inches
Circumference at brim: 36 inches
Gauge:
20 dc x 8 rows = 4 inches
Get the ad-free printable PDF pattern here.
| ABBREVIATIONS | DESCRIPTION |
|---|---|
| ch | Chain |
| dc | Double crochet |
| sk | Skip |
| sl st | Slip stitch |
| sp | Space |
| st(s) | Stitch(es) |
PATTERN:
Join rounds where indicated with a sl st in the first st of the round.
HAT
Make a magic circle.
Rnd 1: Ch 3 (counts as first dc throughout), 5 dc in magic circle, close circle, join. (6 dc)
Rnd 2: Ch 3, dc in first st, [dc in next st, 2 dc in next st] around to last st, dc in last st, join. (9 dc)
Rnd 3: Ch 3, dc in firs st, [dc in next st, 2 dc in next st] around, join. (14 dc)
Rnd 4: Ch 3, dc in next st and each st around, join.
Rnd 5: Ch 3, dc in first st, [dc in each of next 2 sts, 2 dc in next st] around to last st, dc in last st, join. (19 dc)
Rnd 6: Ch 3, dc in next st and each st around, join.
Rnd 7: Ch 3, [dc in each of next 2 sts, 2 dc in next st] around, join. (25 dc)
Rnd 8: Ch 3, dc in next st and each st around, join.
Rnd 9: Repeat rnd 7. (33 dc)
Rnds 10-12: Ch 3, dc in next st and each st around.
Rnd 13: Ch 3, [dc in each of next 3 sts, 2 dc in next st] around, join. (41 dc)
Rnd 14: Ch 3, [dc in each of next 4 sts, 2 dc in next st] around, join. (49 dc)
Rnd 15: Ch 3, [dc in each of next 5 sts, 2 dc in next st] around, join. (57 dc)
Rnd 16: Ch 3, [dc in each of next 6 sts, 2 dc in next st] around, join. (65 dc)
Rnd 17: Ch 3, [dc in each of next 7 sts, 2 dc in next st] around, join. (73 dc)
Rnd 18: Ch 3, [dc in each of next 8 sts, 2 dc in next st] around, join. (81 dc)
Rnd 19: Ch 3, [dc in each of next 9 sts, 2 dc in next st] around, join. (89 dc)
Rnds 20-24: Ch 3, dc in next st and each st around, join.
Rnd 25: Ch 3, dc in first st and each st around, join. (90 dc)
BRIM
Rnd 26: Ch 3, dc in first st, [dc in next st, 2 dc in next st] around to last st, dc in last st. (135 dc)
Rnd 27: Ch 3, dc in first st, [dc in each of next 2 sts, 2 dc in next st] around to last 2 sts, dc in each of last 2 sts, join. (180 dc)
Optional: If using jewelry wire, hold the wire behind your work. On rnd 28, work your sts over the jewelry wire so that it gets wrapped up inside the sts. Cut wire at the end of rnd 28. Twist the ends of the wire together to secure and tuck into the stitches.
Rnd 28: Ch 3, dc in next st and each st around, join.
Rnd 29: Sk first st, 5 dc in next st, sk next st, sl st in next st, [sk next st, 5 dc in next st, sk next st, sl st in next st] around. (60 5-dc groups)
Fasten off. Weave in all ends.
Everyone will be so impressed with your child’s hat. You’ll get to brag that you made it by hand. And the best part is you can guarantee no one else will have the same witches hat. Give this project a try and make this Halloween one of a kind.
If you enjoyed this adorable crochet pattern, check out some of my other fun crochet projects that you might want to try:
- Children’s Heart Sweater Crochet Pattern
- Primrose Stitch Summer Dress Crochet Pattern
- Primrose Stitch Sun Hat Crochet Pattern
- 30 Lovely and Easy Women’s Crochet Hat Patterns


Thankyou for publishing your pattern for the witches hat. I think that there is a row that is wrong. Row 8 should be repeat row 4 not row 1. I found that when i did row 1 i ended up with 37 not 33.
I would like to make this in an adult version. What adjustments should I make?
Standard adult size is 22″. What I would do is go 4 more rows after round 18 doing this: row 19 ch 3, DC in first st, [dc in each of the next 10 st, 2 dc in the next st] 8 times, dc in the next 11 st, join with sl st. (97 st) Follow round 20 with the next increase in nbr 11, 9 times (105 st) and so forth. Measure as you go along until you get to 22″ then start your brim with the total stitches you ended up with.
Is there an adult pattern 😊
I would think you can add more rows to make it fit and adult cause that’s what I’m gonna do
This is lovely! Is there a pattern for bigger kids and adults?
A great pattern, would be easy to make it in red for Christmas, I made my granddaughter one a couple of years ago in red and white she loves it and is still wearing it, I guess any color would work
Yes, I’d be interested in an adult version too
I also want to make this in adult size. 31″??
Is there an adult version of this pattern?
Awesome Hat! So Cute!
Thanks for sharing the pattern!
So Cute! ❤️
Adult version, please!
I too, would like to make an adult version. Please?
Super cute!! If there’s an adult version, I’d really love one. Than you